Micro Quadcopter Build

A Micro Quadcopter!
Outside of the usual gaming content, we have a brief quadcopter build . If you haven’t had a shot at one yet, I urge you to get a small one to get used to flying and just mess around with it! To get more practice flying quadcopters before I go back to my 250 quad, I got a Eachine e010 “tiny whoop” clone kit from banggood.com. These tiny things are great for flying around the house and get some practice with the sticks.
This kit has everything you need to build a tiny quad with FPV capability. The main parts are the frame, the propellers, the flight controller with built in transmitter, motors and a camera with a transmitter. But remember you need some batteries, make sure you get a few as you only get 3-4 minutes flight time for each one. I got this set of 5 Charsoon 220mAh stick style batteries which have been working great.

What else do you need?
You do need a few staple items for your quadcopter. It’s recommended to buy a decent controller, as you can use it with multiple aircraft. This is one of those things were you can spend a small amount of money and find your self needing to upgrade in the future or you can go all out and get something decent. I’ve got a Spectrum DX6i, which doesn’t appear to be available in retail anywhere, the next one up is the DX6e.
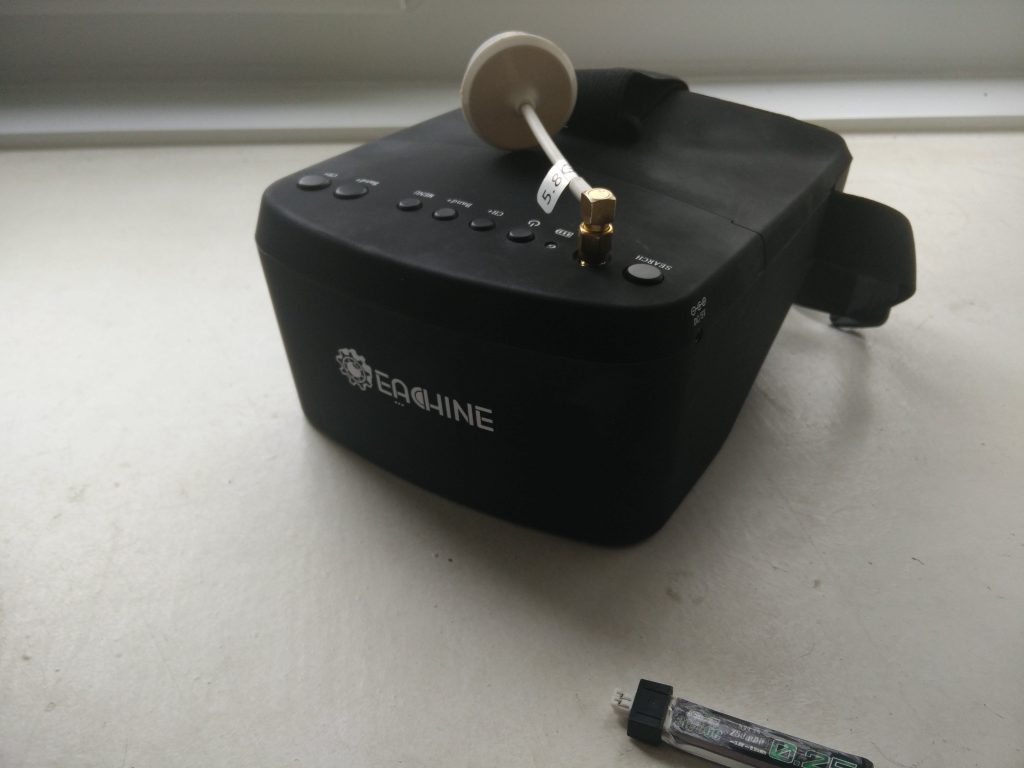
If your going to be doing FPV (First Person View) you will need a receiver to receive the video feed coming from your camera and either a screen or headset. There are again a range of options here, you can spend as little as £40 or go all out at £300 plus. You can get headsets, like VR headsets that have built in receivers, or ones that are just screens and require a separate receiver. From Banggood again, I grabbed a quite decent FPV headset, the Eachine EV800 for £40.
A decent lipo charger is required for safety reasons and so you can effectively charge your batteries and get the most out of them.

How to put it all together?
The mini quads are really easy to build, the larger ones are a bit more complicated.

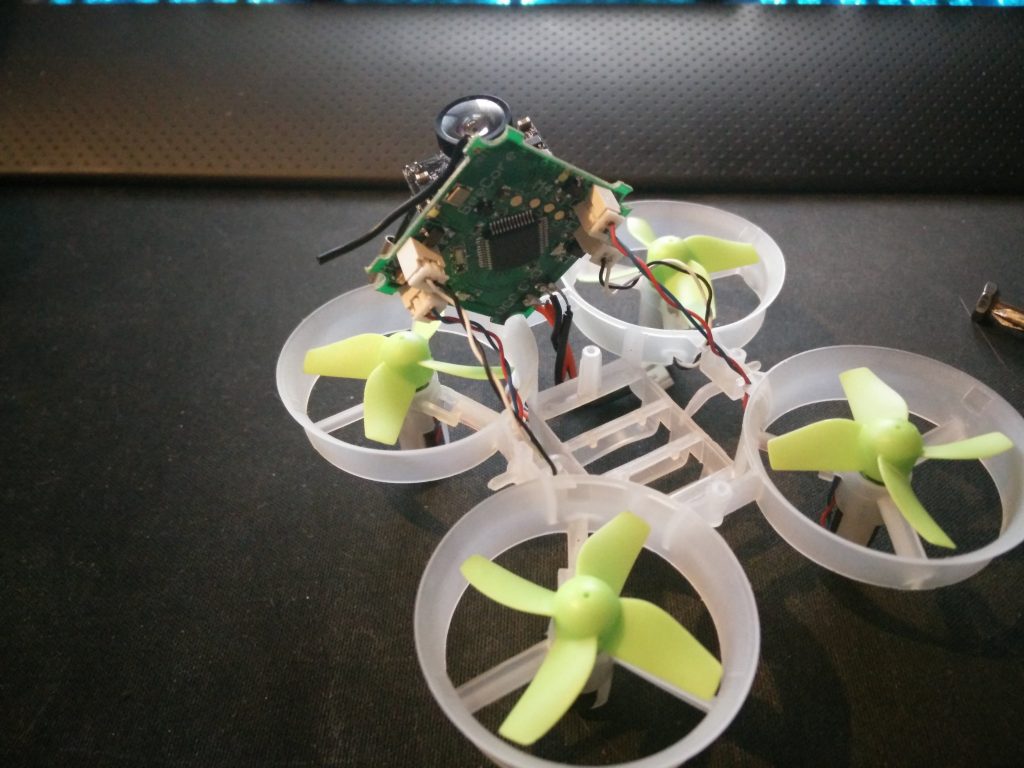
For this kit however:
- The four motors slot into the frame.
- They are then plugged into the flight controller.
- I soldered the FPV camera power wires onto the flight controller.
- Stick the FPV camera onto the flight controller with some double sided foam or use a mount.
- Then you screw the flight controller to the frame.
- Once you’ve tested it you can finally put your props on, it’s just good practice especially with larger copters!
- I also replaced the circular polarised antenna on the camera with a linear antenna that is less likely to break.
After flying this little thing for a couple of weeks, dinking off the walls, myself and scaring the cat, the frame cracked. Gluing it back together with some model glue worked for a while, but in the end I bought a the new E010s frame which is lighter, and makes the whole thing feel more zippy. I will cover it in a review later.

Now what?
Get flying! Get experience using the controller, its a bit different to the usual Xbox or PS4 controllers us gamers are used to. Don’t be afraid to crash, but be careful at the same time. The larger quads can be pretty dangerous if handled incorrectly, thats why I would recommend starting off with a smaller one you can fly indoors and not damage yourself or anything else with.
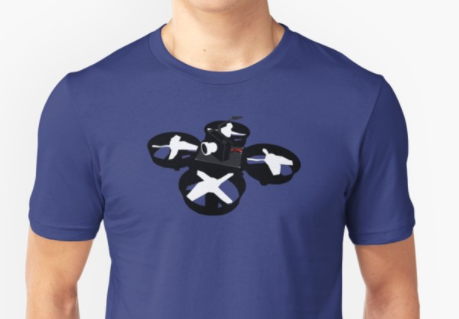
I’ve also designed a microquad t-shirt! You can buy it here.
If you like the design and would like to see more hit me up on twitter @WullyRobb
Happy flying!